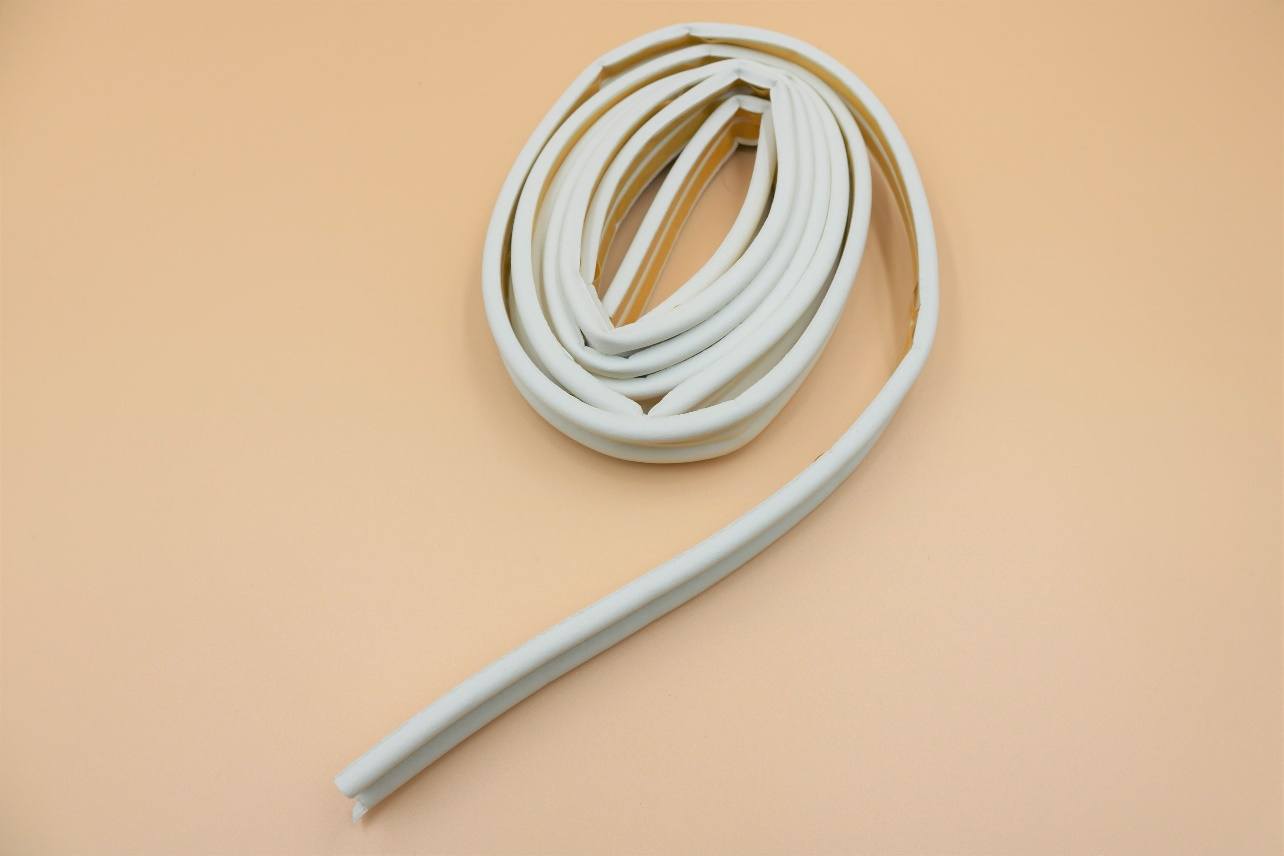
Applying Window Weather Stripping

Have you ever walked by a window and felt a blast of cold air that chilled you to the bone? It’s not that the window is open, but that the weather stripping is old and worn.
If you look closely and can see the tatters from the old stripping, then it’s time to put on your DIY gloves and go to work.
First, you need quality window weather stripping from a well-established company. It only makes sense to buy a well-made product, not only to save energy but also to do justice to your hard work.
Here are some basic steps to replacing weather stripping:
- Look to see what type of weather strip your window uses. We offer a quality bulb weather strip that uses a kerf application.
- Remove the old stripping and clean up the area. The best weather stripping is quick and easy to apply and has features that keep the cold air out.
- Check to see the weather stripping is the correct replacement material and that it fits properly, so the window closes completely.
- Take care with the measurements. It makes sense to measure twice. This saves you from wasting product.
- Use the right tools, such as a sharp utility knife.
- Apply the weather stripping, pressing it firmly into place. This prevents the backing from sticking to the glass.
Window weather stripping is an effective solution to keeping your family comfortable during the winter and reducing the cost of your energy bills. Here’s to an easy and successful DIY project.
